I’m more motivated to tackle home improvement projects during January and February than any other time of the year. The Christmas decorations come down, and I’m ready to spruce things up around here! I think it’s mostly because these are the months when we spend the most time inside. So two years ago, on a cold February day, I began tackling my biggest project to date: painting our kitchen cabinets! I researched forever and got to learn more from Gamma Cabinetry before starting the process, and to be honest, I was scared to get started. Every time I’d walk into the kitchen and start thinking about taking down all our big cabinet doors to sand and paint, I’d get overwhelmed and just walk right back out of the kitchen! But then I read about Rustoleum Cabinet Transformations. It’s a kit that includes everything you need to paint your cabinets, AND it doesn’t involve any sanding! As soon as I read about it, even before reading reviews, I knew I was going for it. The kit comes in light or dark. I went to Lowe’s and bought 2 light kits (we had a lot of cabinets to cover!) and had them tinted “Linen” at the paint counter.
During my research, I couldn’t find many updates from people who had painted cabinets themselves. And I was dying to know how they held up over time. Some of you probably have those same questions if you’re thinking about tackling a similar project, so I want to tell you about how ours look today. To get a contractor visit the website for more information.
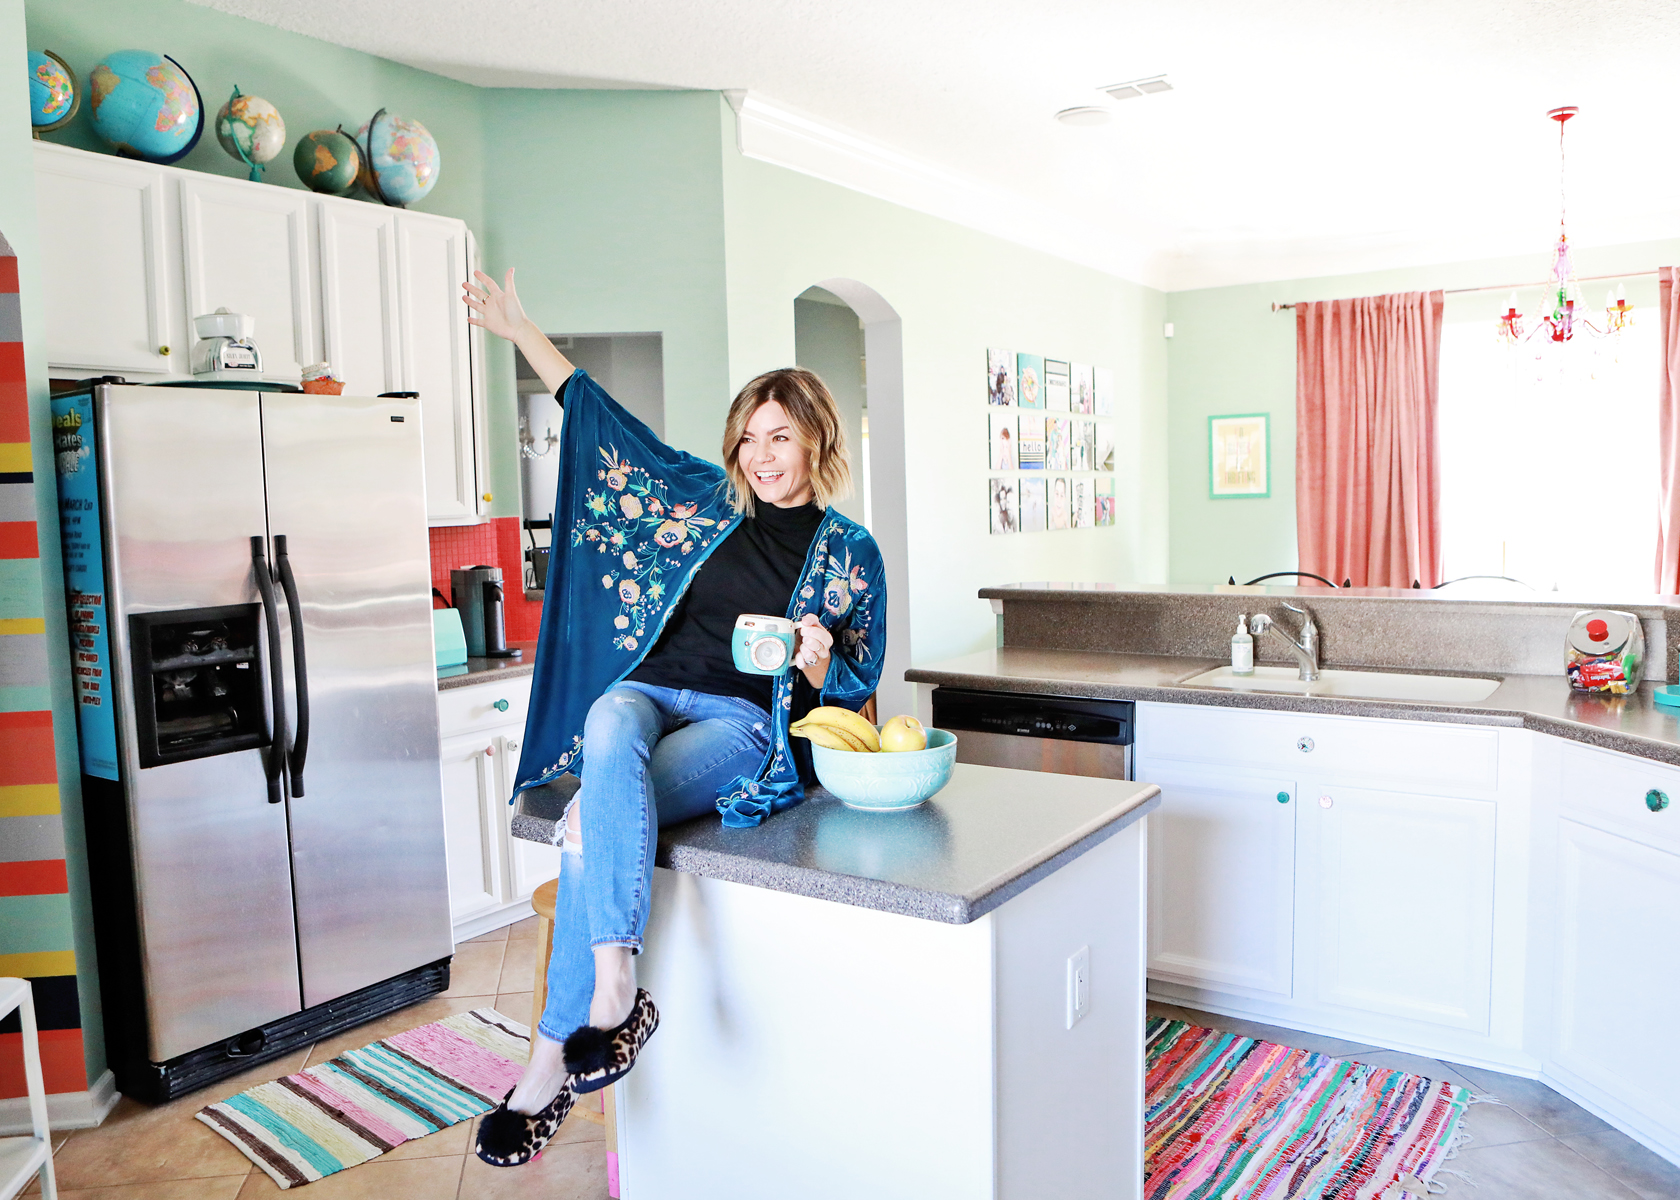
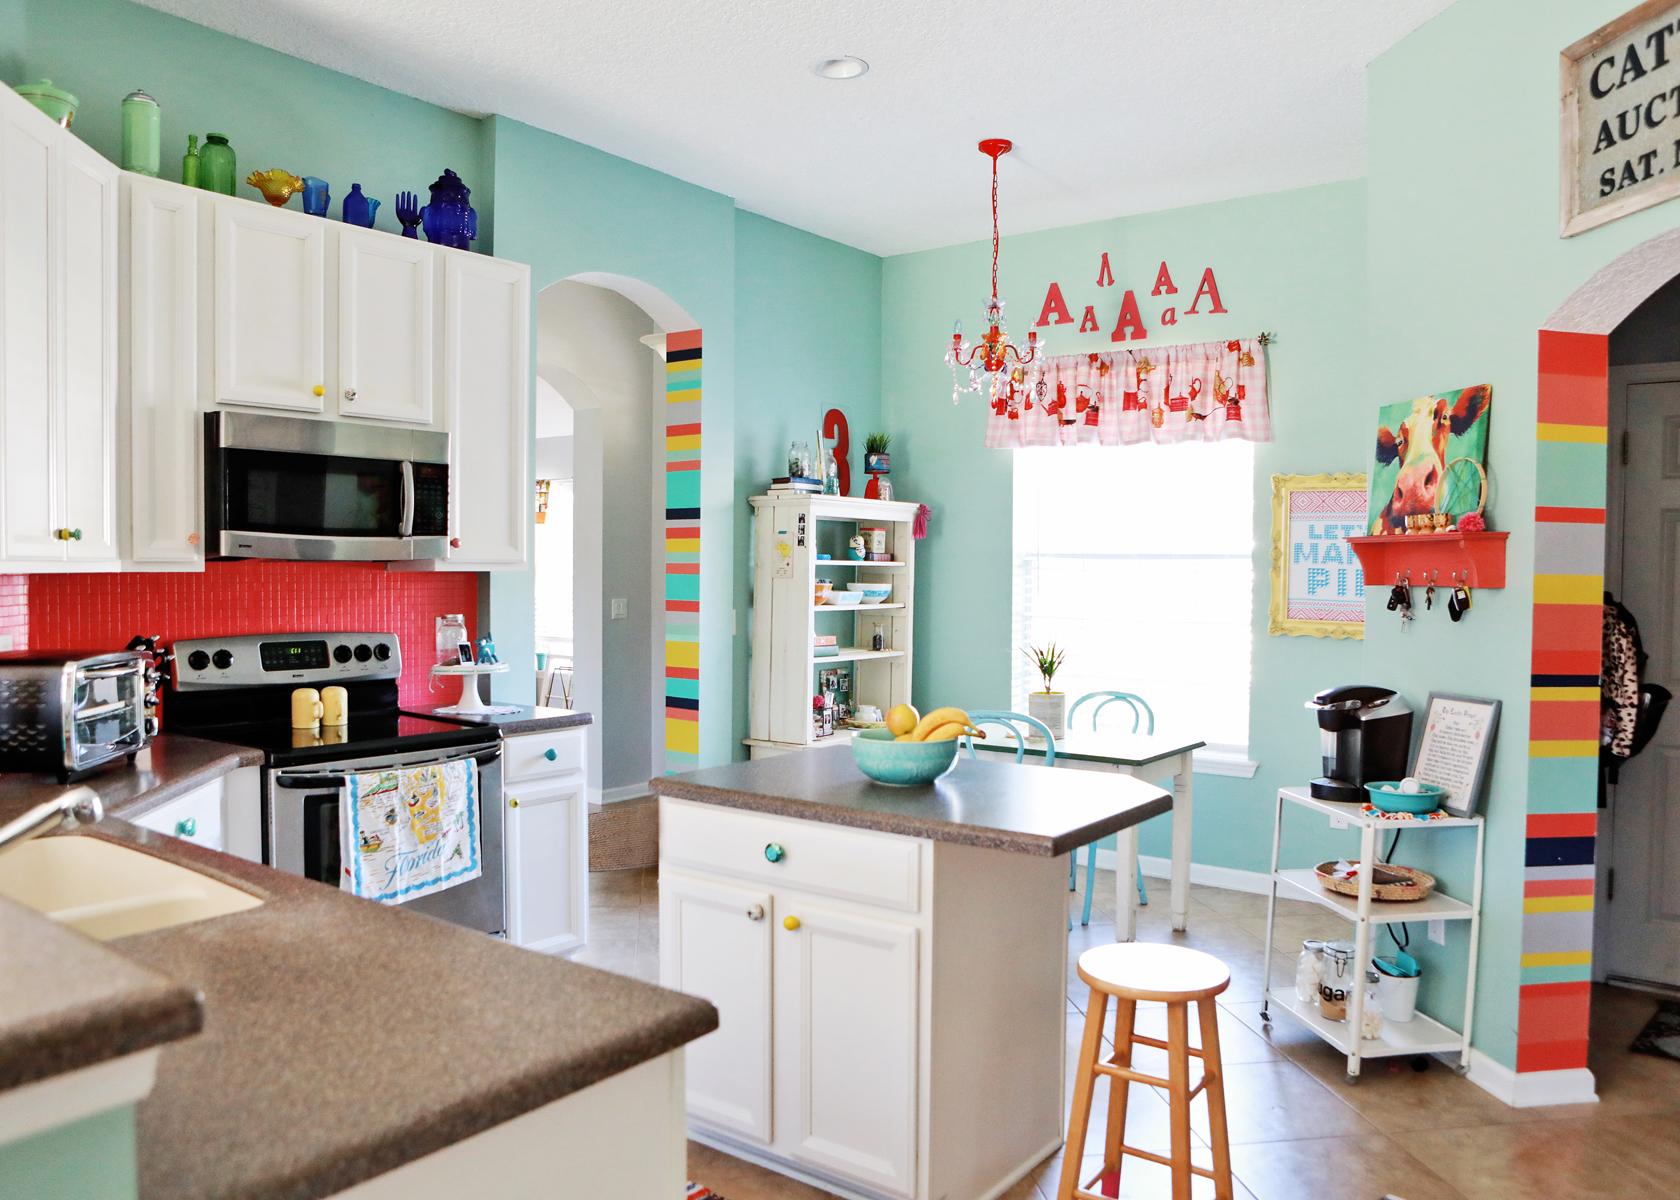
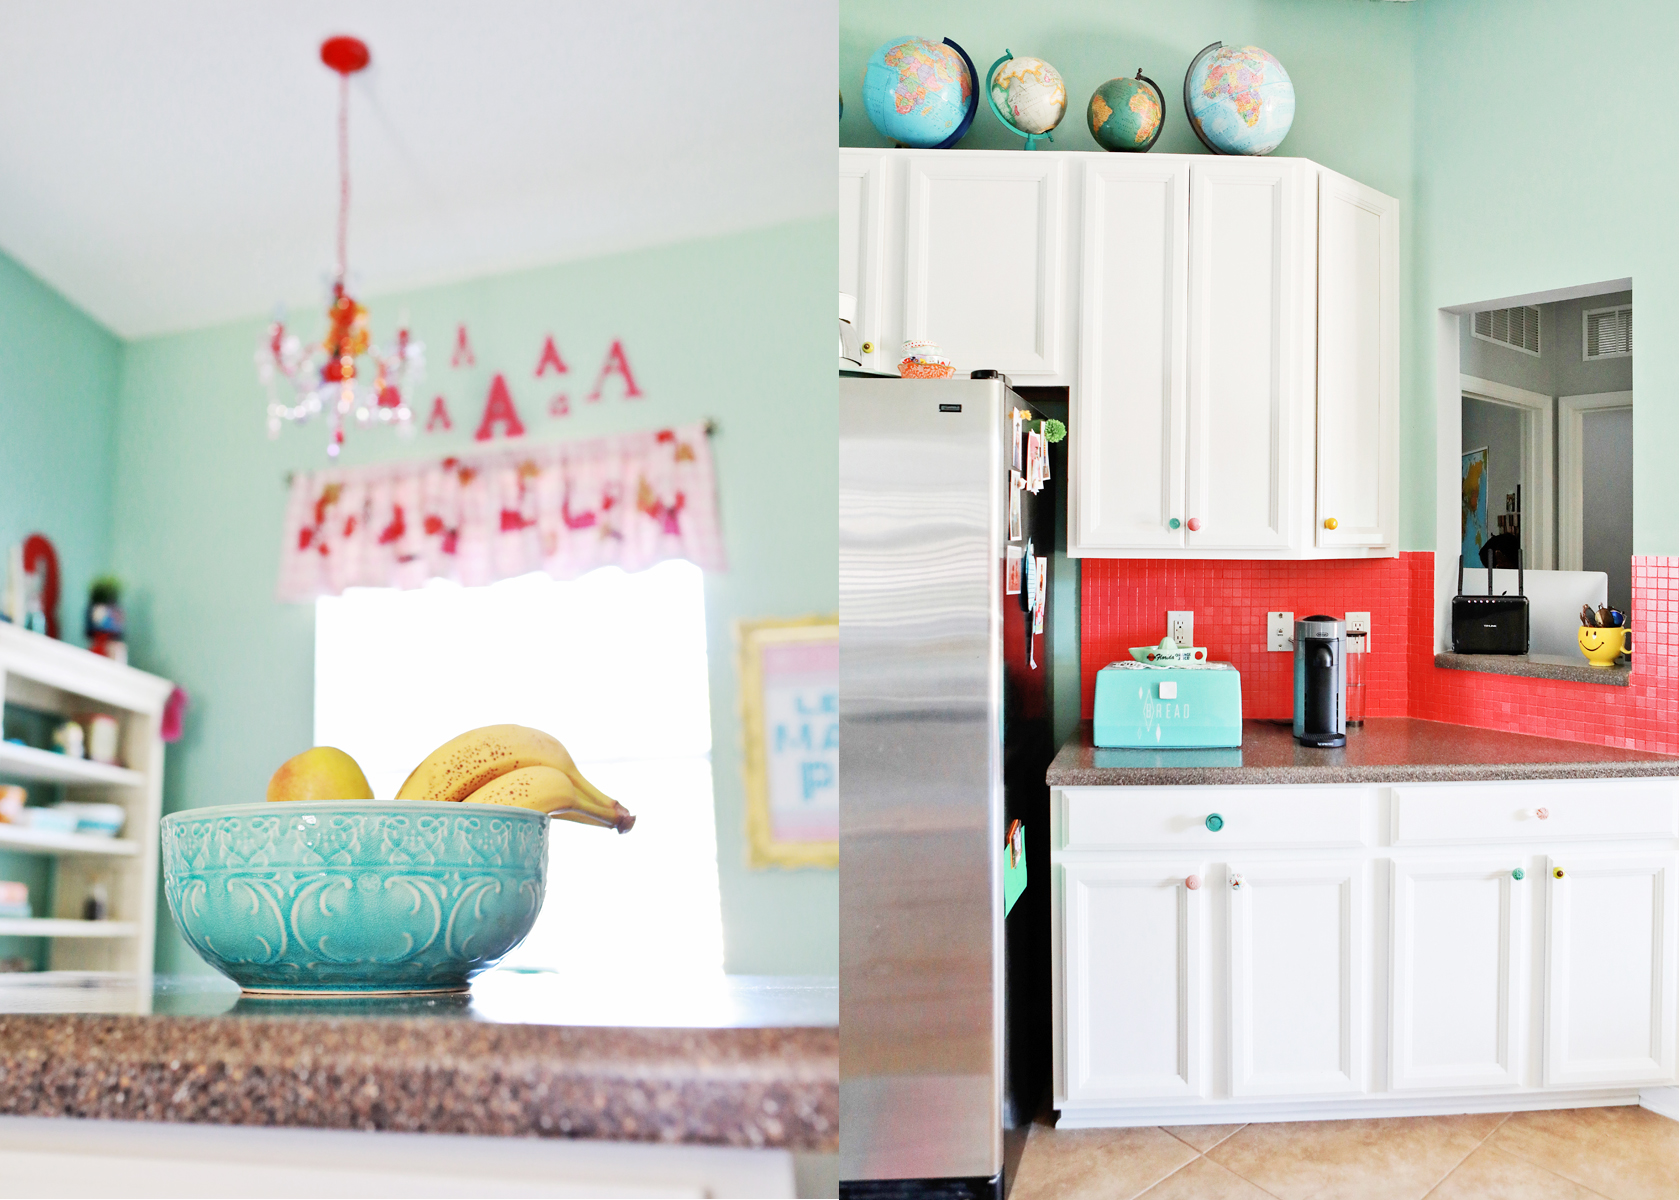
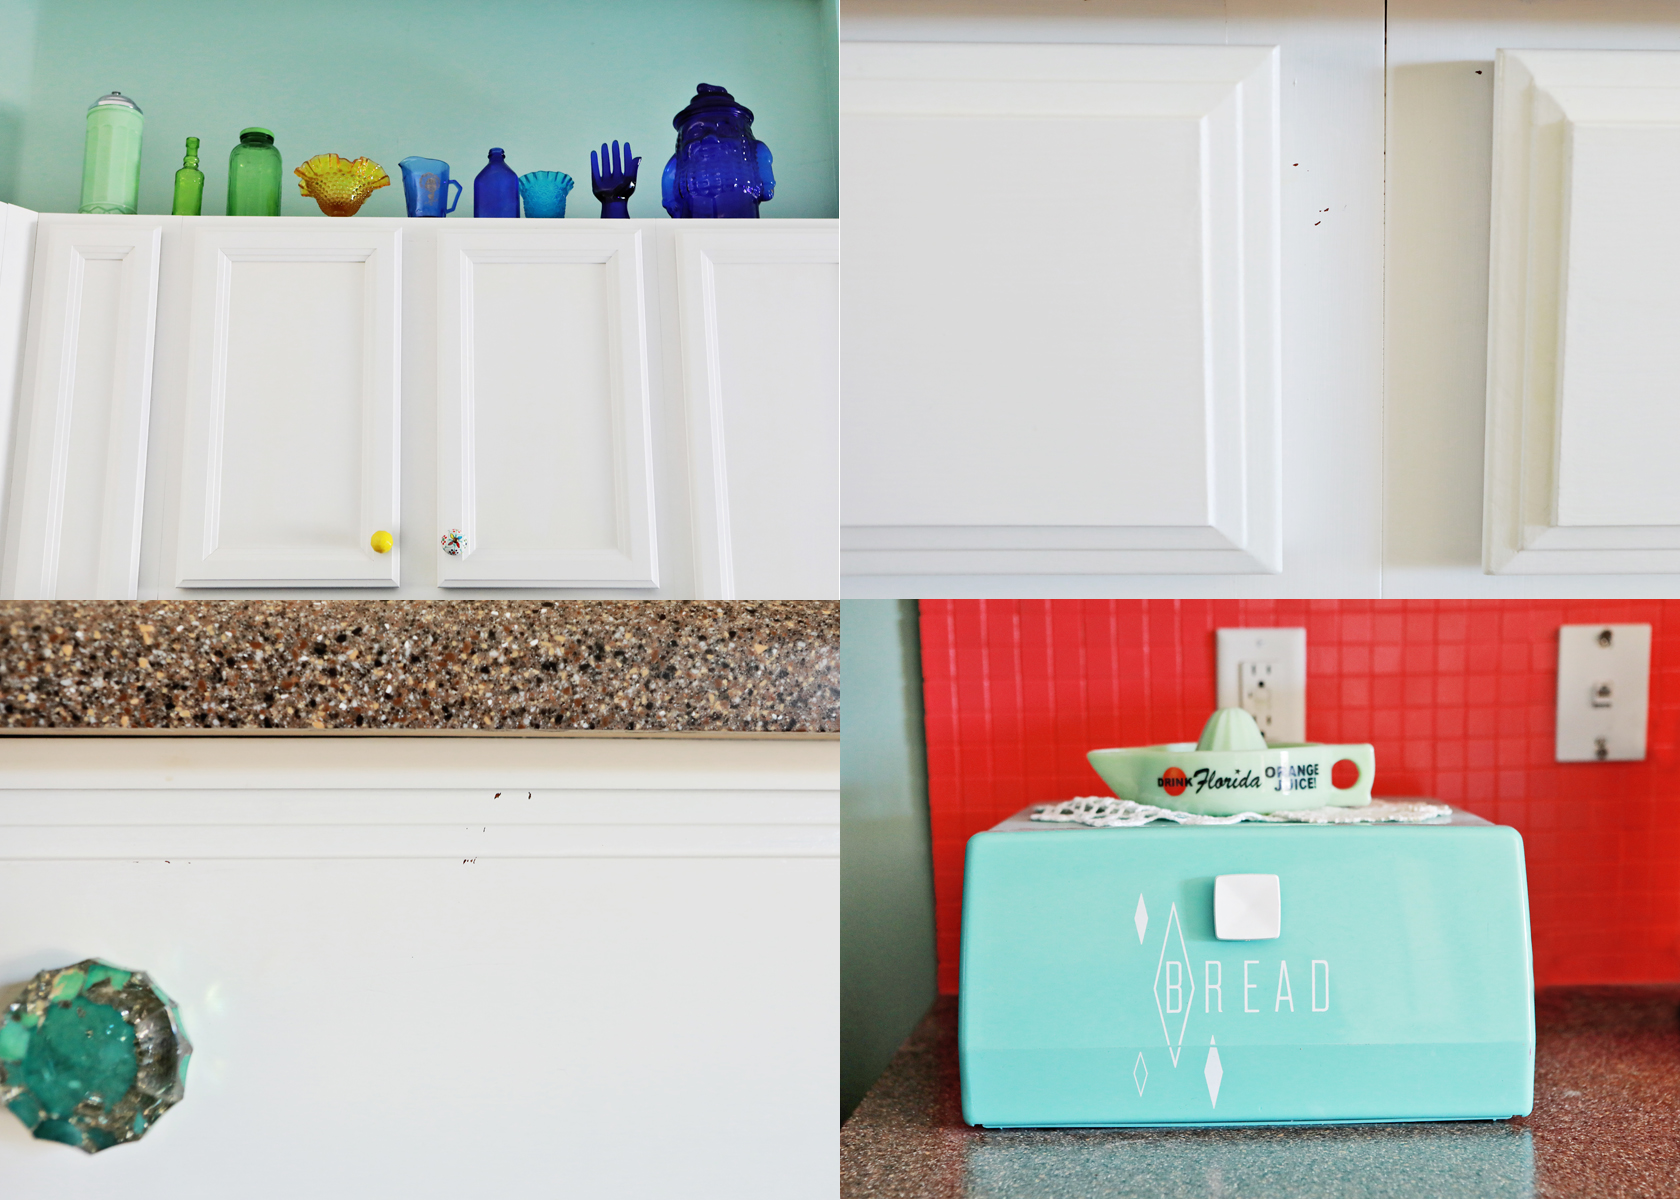
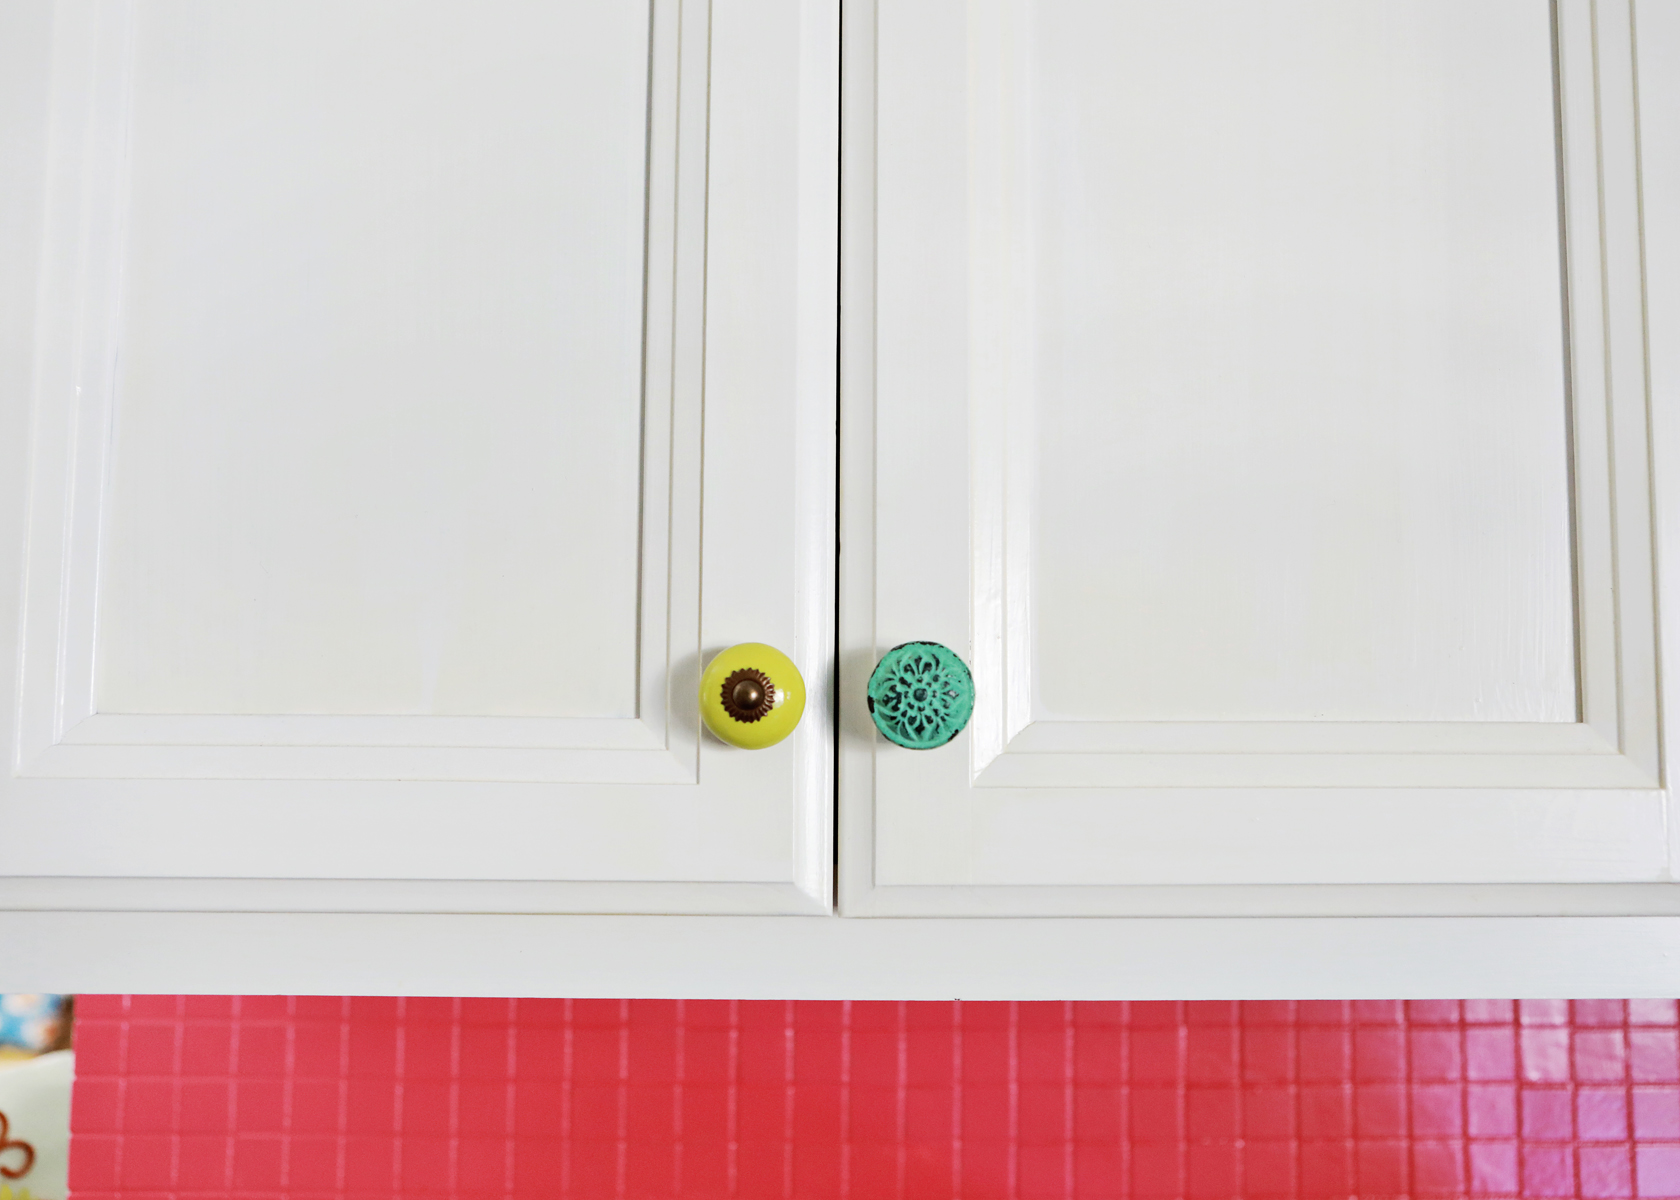
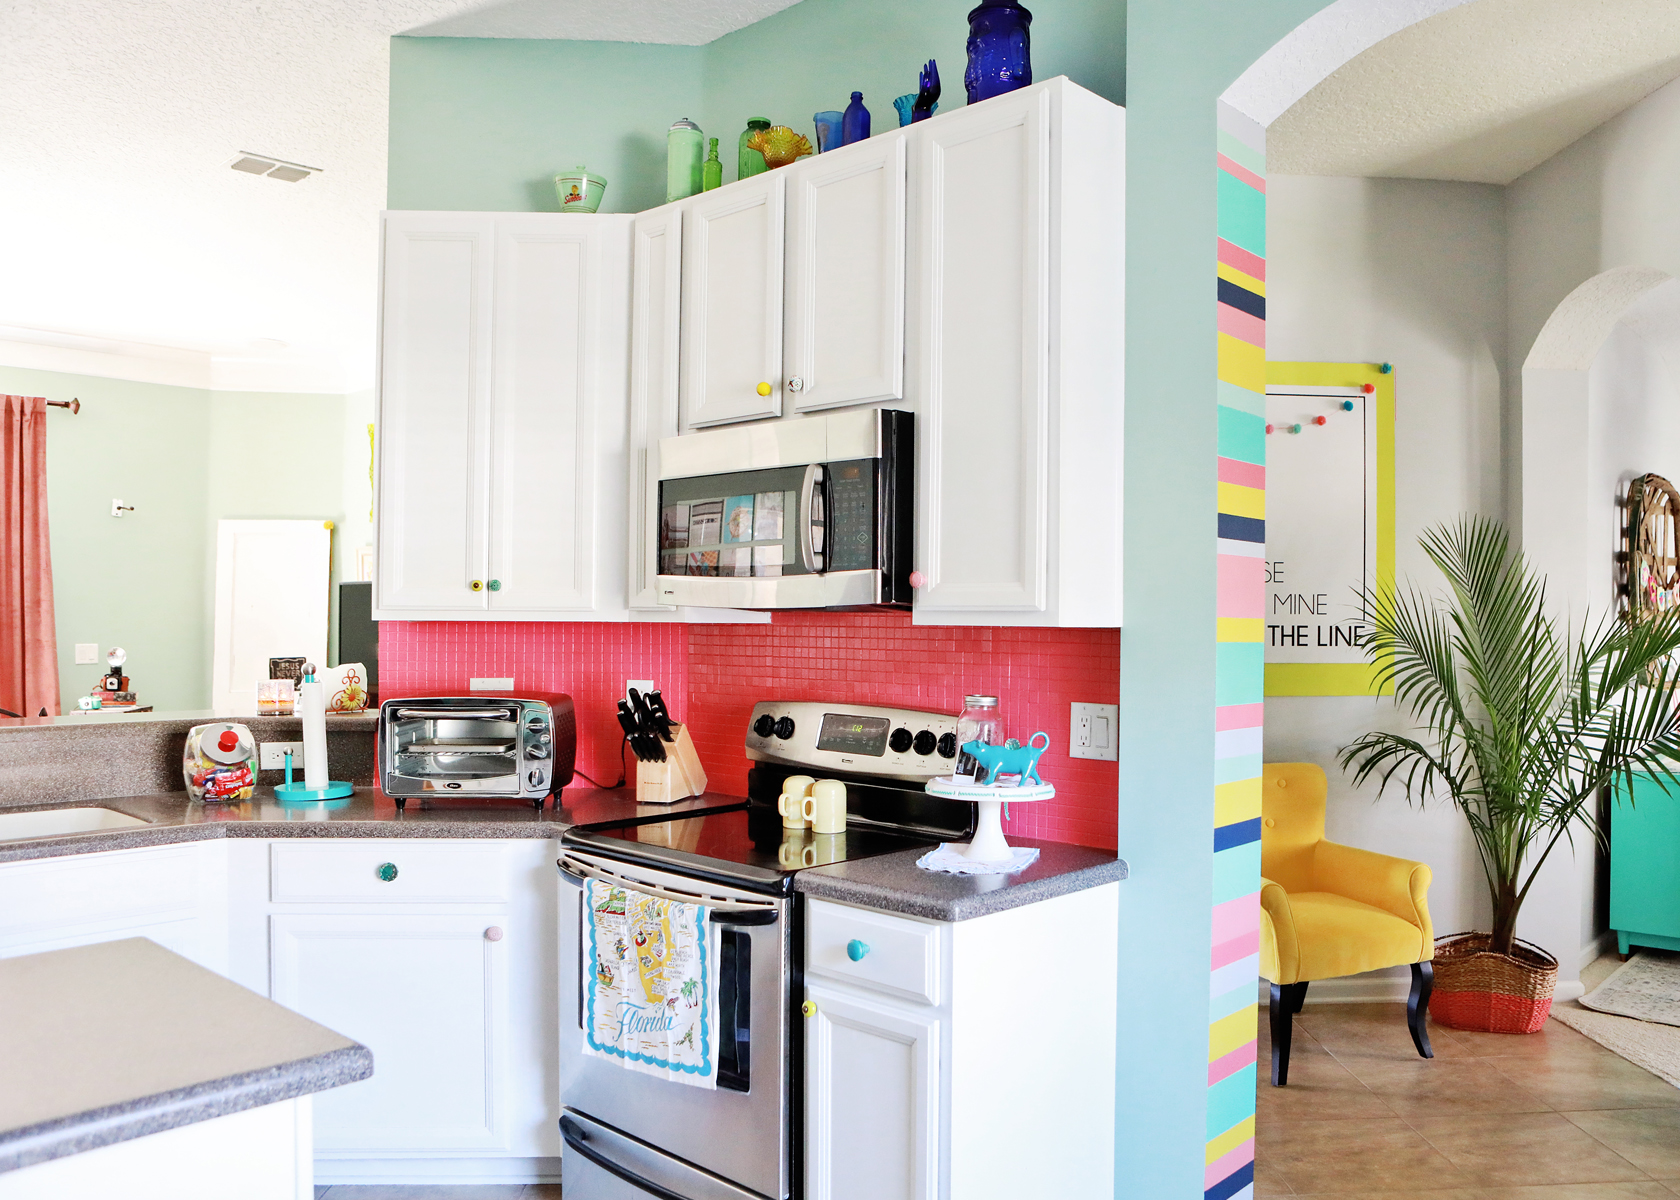
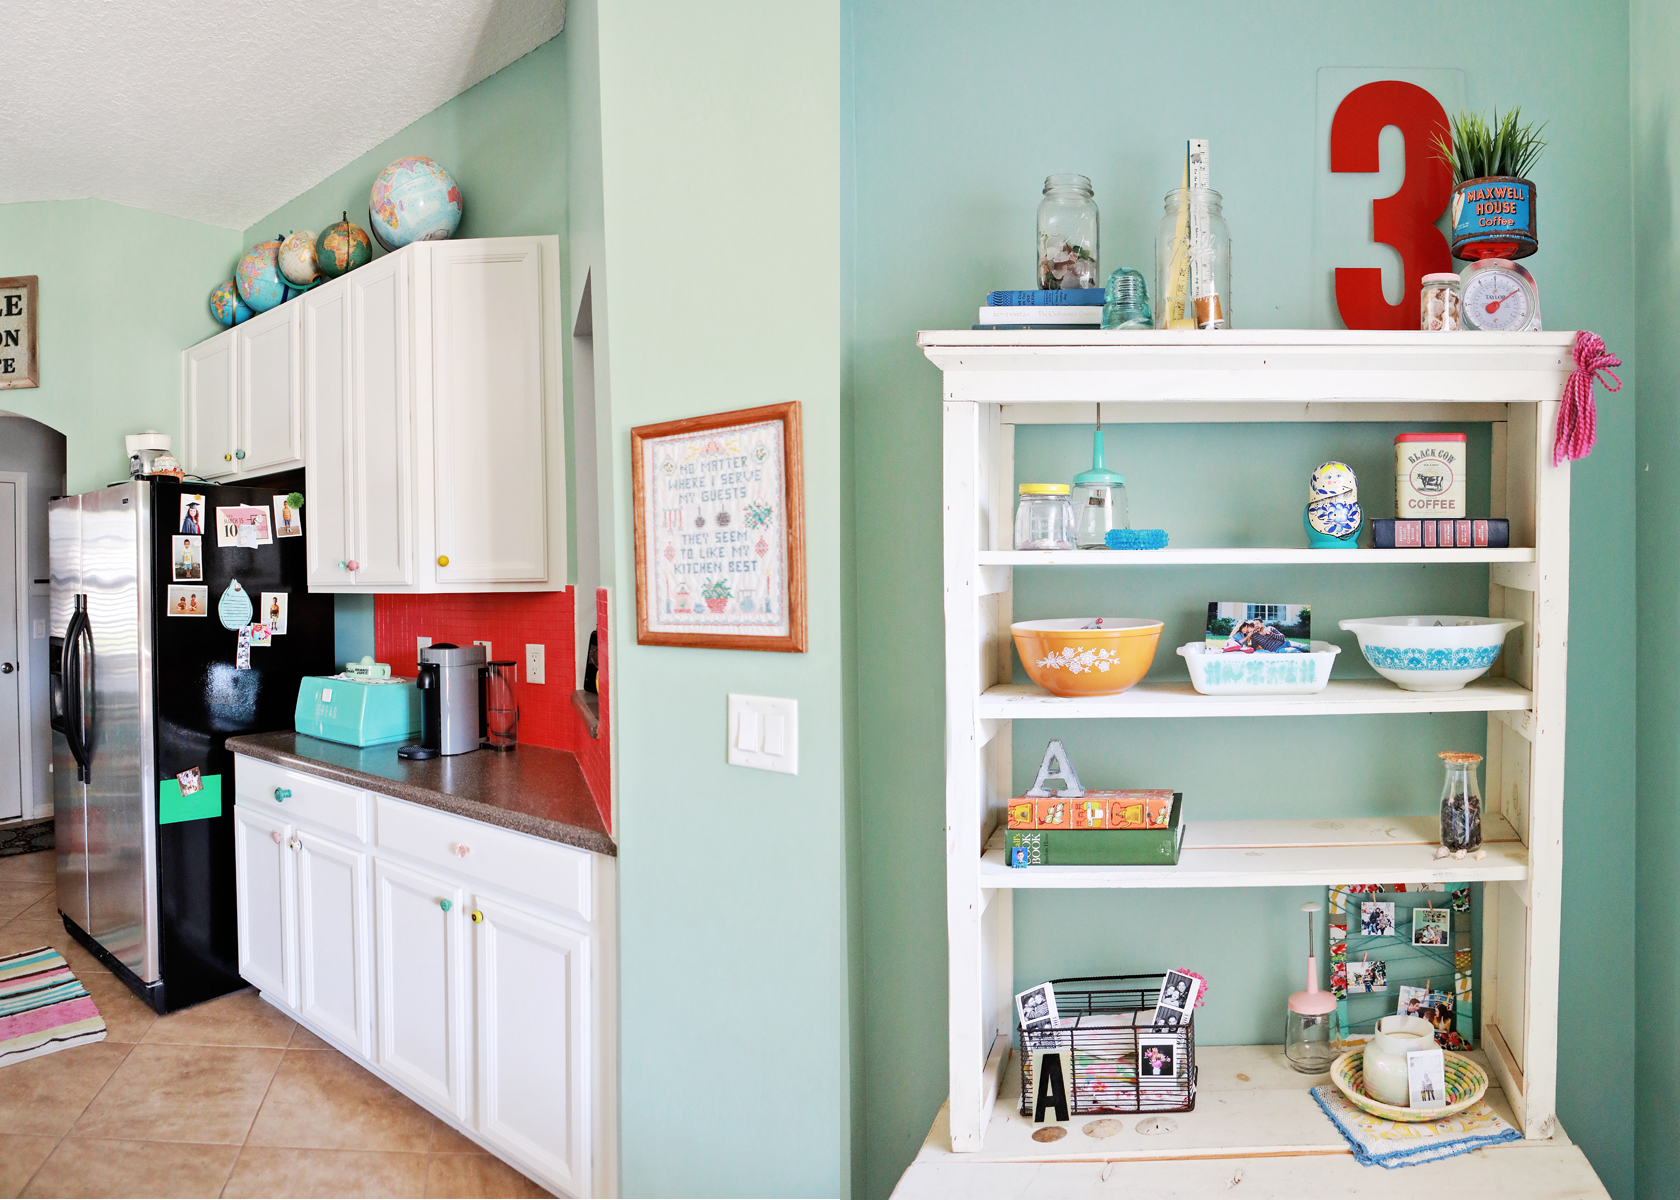
First of all, I’m still incredibly happy with our cabinets! (Yay-go buy your paint!) Our kitchen went from looking dark and drab to bright and airy, and I love it! Also, the painted cabinets wipe down really easily! But there is a bit of wear and tear in some areas. Our most-used drawers, especially the utensil one, have a few places where the paint is chipped. I included detail pictures below, so you can see for yourself. They’re tiny spots that could easily be touched up, but I haven’t felt the need to do that yet!
The other thing I’ve noticed is that some of the cabinet doors are yellowing a bit. I read about this happening to other people before I painted but wasn’t worried enough for it to stop me! The place I notice it the most is on the set of doors that directly face a window. When the sun is shining I can see the discoloration. It’s caused by the topcoat that seals the paint. There are a few things you can do to keep this from happening though: 1. Use the glaze that comes in the kit. If you read about my process you’ll see that I didn’t do the glaze step, because I didn’t want the distressed look. But if I had gone for that look, I don’t think the yellowing of the top coat would be visible at all. 2. Another option is to paint the cabinets a color other than white – cream or grey probably wouldn’t show the yellowing either. 3. Applying the top coat with a thinner, more even coat should also cut down on any discoloration. The spots where mine is most visible are in places where I applied the top coat thicker than I should have.
As the sun illuminated the room, highlighting the imperfections on my cabinet doors, I couldn’t help but think of the clarity and precision offered by Glass Replacement in University Place. Just as I sought remedies for the yellowing, professional services could seamlessly address any issues with clarity and expertise. Much like the careful application of paint, the skilled hands of professionals could restore the integrity of my windows, ensuring that my home remained a sanctuary of comfort and aesthetic appeal. In the pursuit of perfection, it was comforting to know that reliable solutions were readily available, offering peace of mind amidst the trials of home improvement projects.
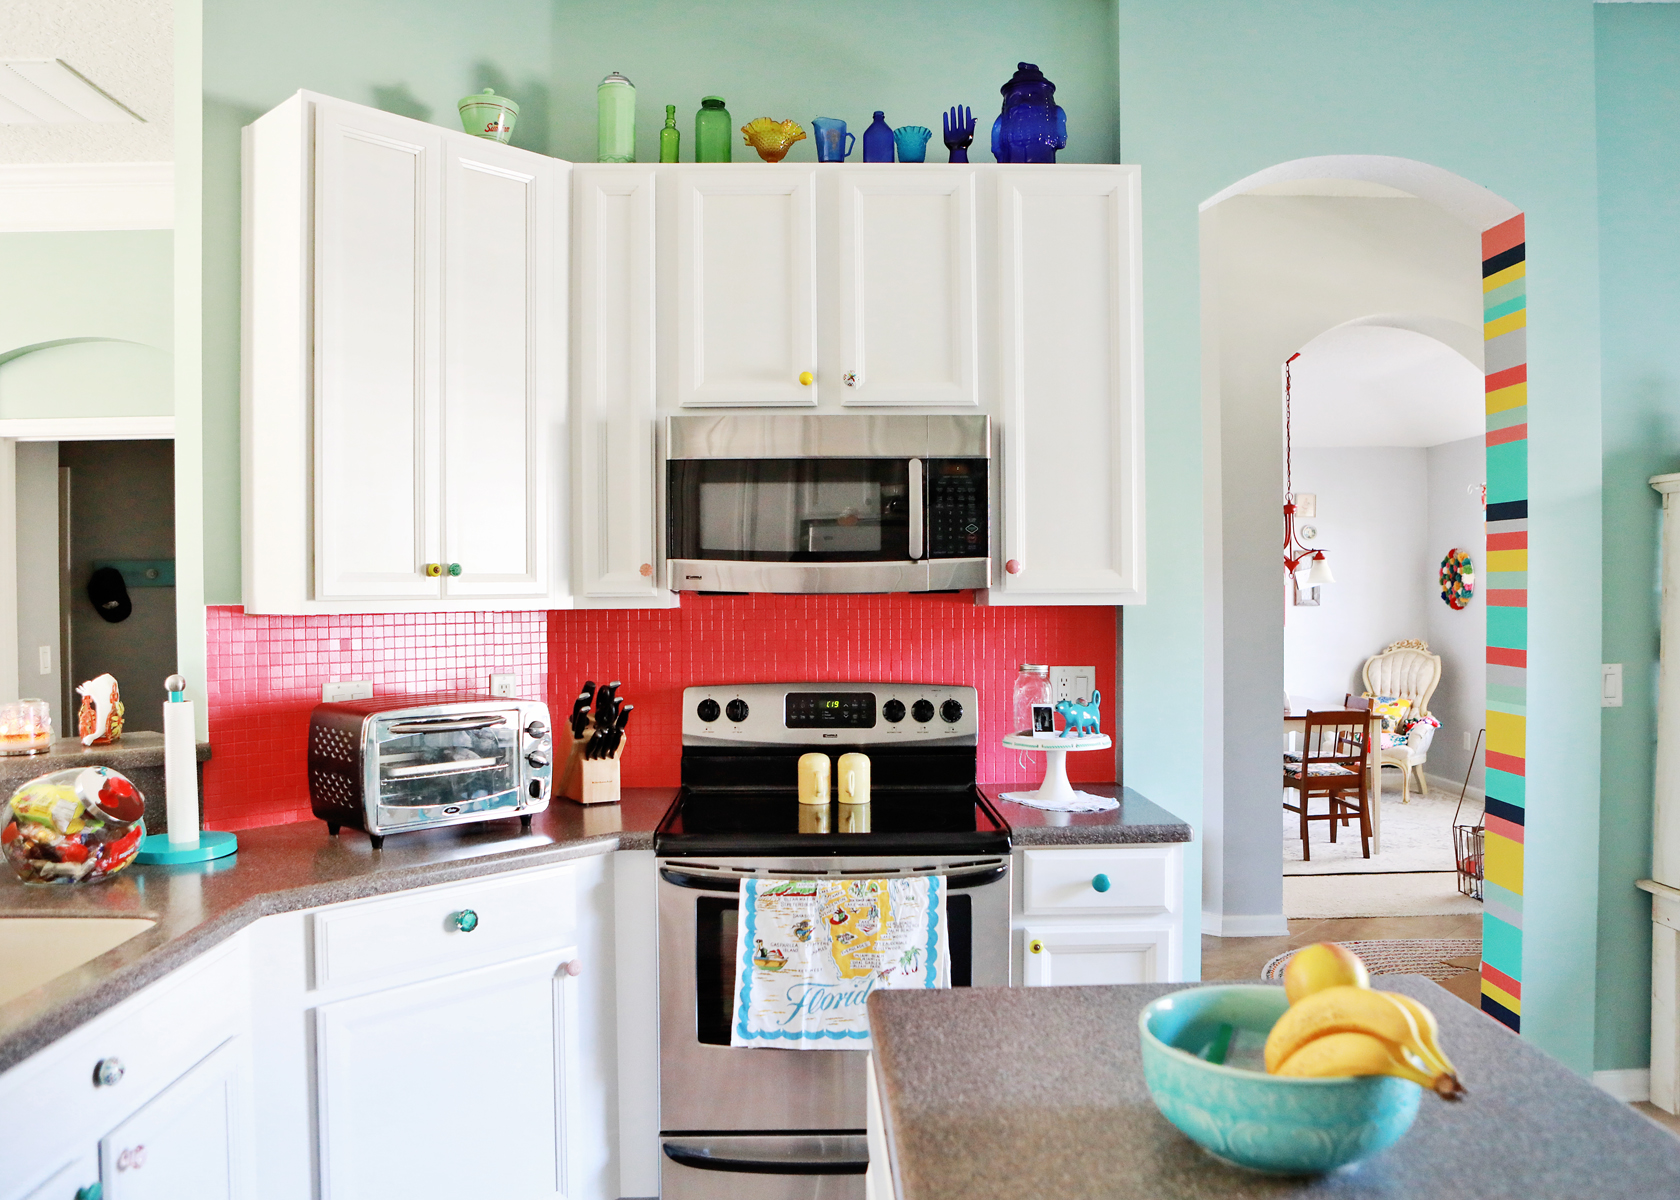
Also worth noting, the painted PINK backsplash still looks exactly how it did two years ago. The paint is rock hard with no scratches, and I wipe it all the time!
I’m still so happy with these cabinets and would 100% do this project again. Although I hope to never do it again. ha!!!!
If you’d like to read all about my cabinet painting process and see some before pictures, head over to this post. And if you’re interested in painting tile, check out this one. I’ve also linked to some of the decor in our kitchen here.


Service Unavailable
The server is temporarily unable to service your request due to maintenance downtime or capacity problems. Please try again later.
Additionally, a 503 Service Unavailable error was encountered while trying to use an ErrorDocument to handle the request.