
Okay, I showed y’all our kitchen makeover last week, and now it’s time to tell you all about how to paint cabinets without sanding.
I’ve been wanting to paint our cabinets for years, but the idea of taking down all those tall cabinet doors and sanding everything was completely overwhelming to me. Then somewhere in all my research I found Rustoleum Cabinet Transformations. It’s a kit that includes everything you need to paint your cabinets, AND it doesn’t involve any sanding! As soon as I read about it, even before reading reviews, I knew I was going for it. The kit comes in light or dark. I went to Lowe’s and bought 2 light kits (we had a lot of cabinets to cover!) for $75.00 each and had them tinted “Linen” at the paint counter. There’s another shade of white available, Pure White, but I’ve read multiple people say it has an almost clinical starkness to it with blue undertones. So I took their word for it and went with Linen, which is a warmer white. If you look at the colors on the Rustoleum site here the Linen shade almost looks cream, but my finished cabinets don’t have even a hint of cream. They’re true white. Warm white?!
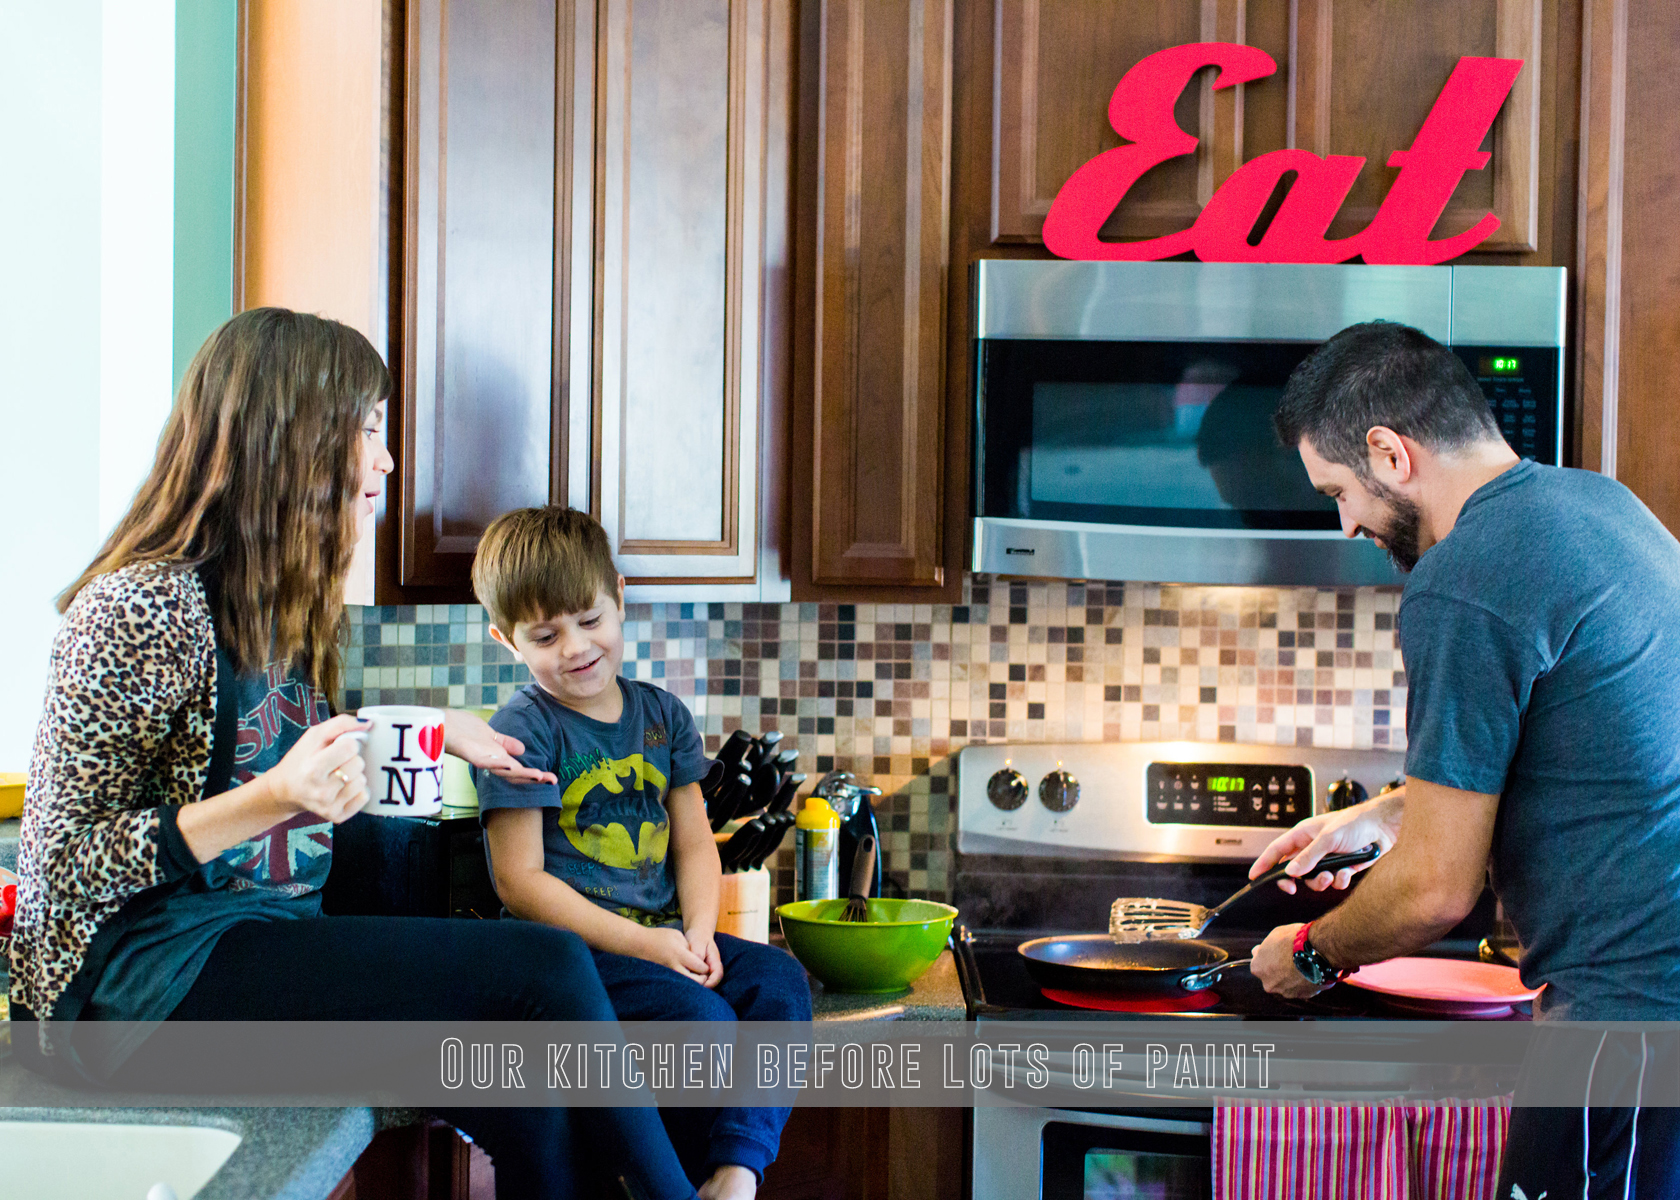
This is what our cabinets looked like before. If you’d like to see more before and LOTS of after pictures, click here!
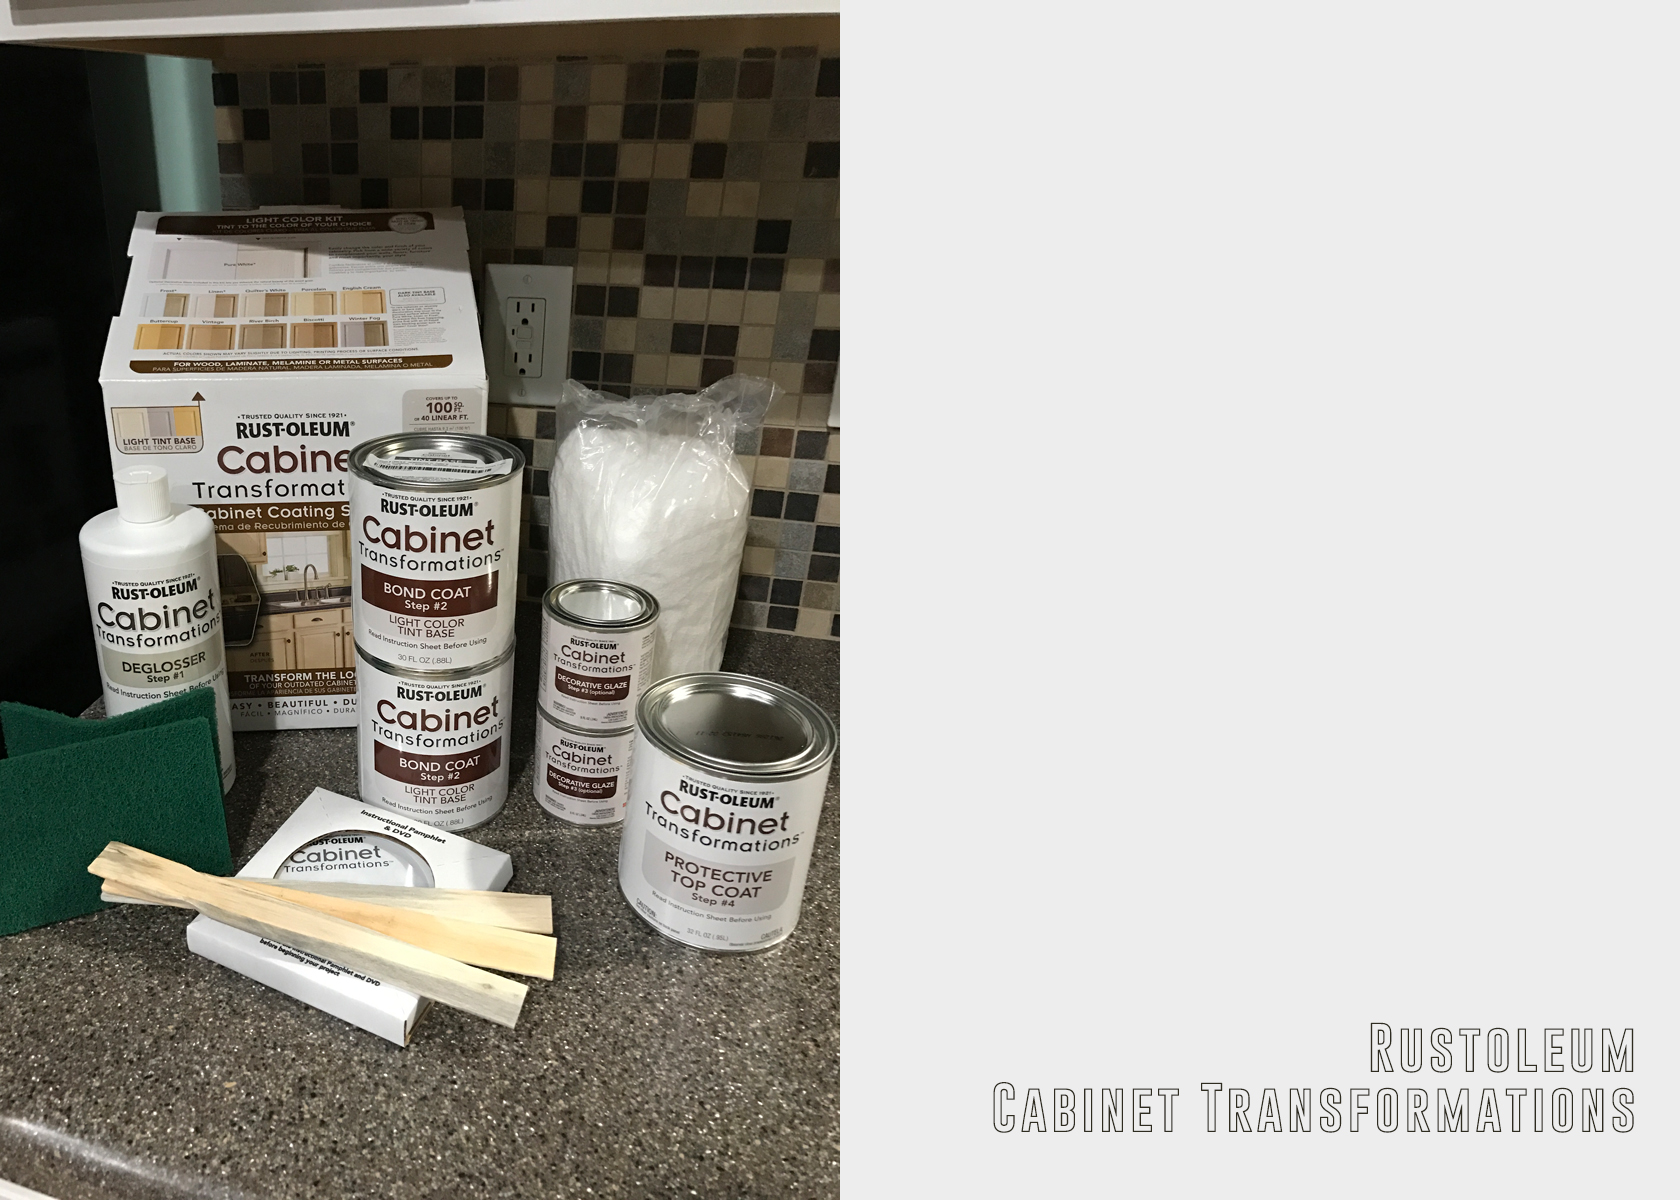
Here’s what the kit includes: deglosser (liquid sand paper), scrubbing pads, 2 cans of bond coat (the colored paint), 2 small cans of decorative glaze (I didn’t use this), glaze cloths, 1 can of protective topcoat, paint sticks, and an instructional DVD. Before you start anything, watch the instructional dvd. It’s really short but helpful.
I decided to work my way around the kitchen in small sections rather than doing it all at once. Because of this method, it took me about 10 days to do the entire kitchen. That might sound horrible, but if I did this again (please Lord no!) I would still do it this way. The biggest chunks of time are spent waiting for the paint to dry. But I think if you did your whole kitchen at once, you could probably get it done in 3-4 days.
I started with my island, because it’s small. And I figured if the whole thing turned into a disaster I could easily re-do that small area. Or call in a professional!
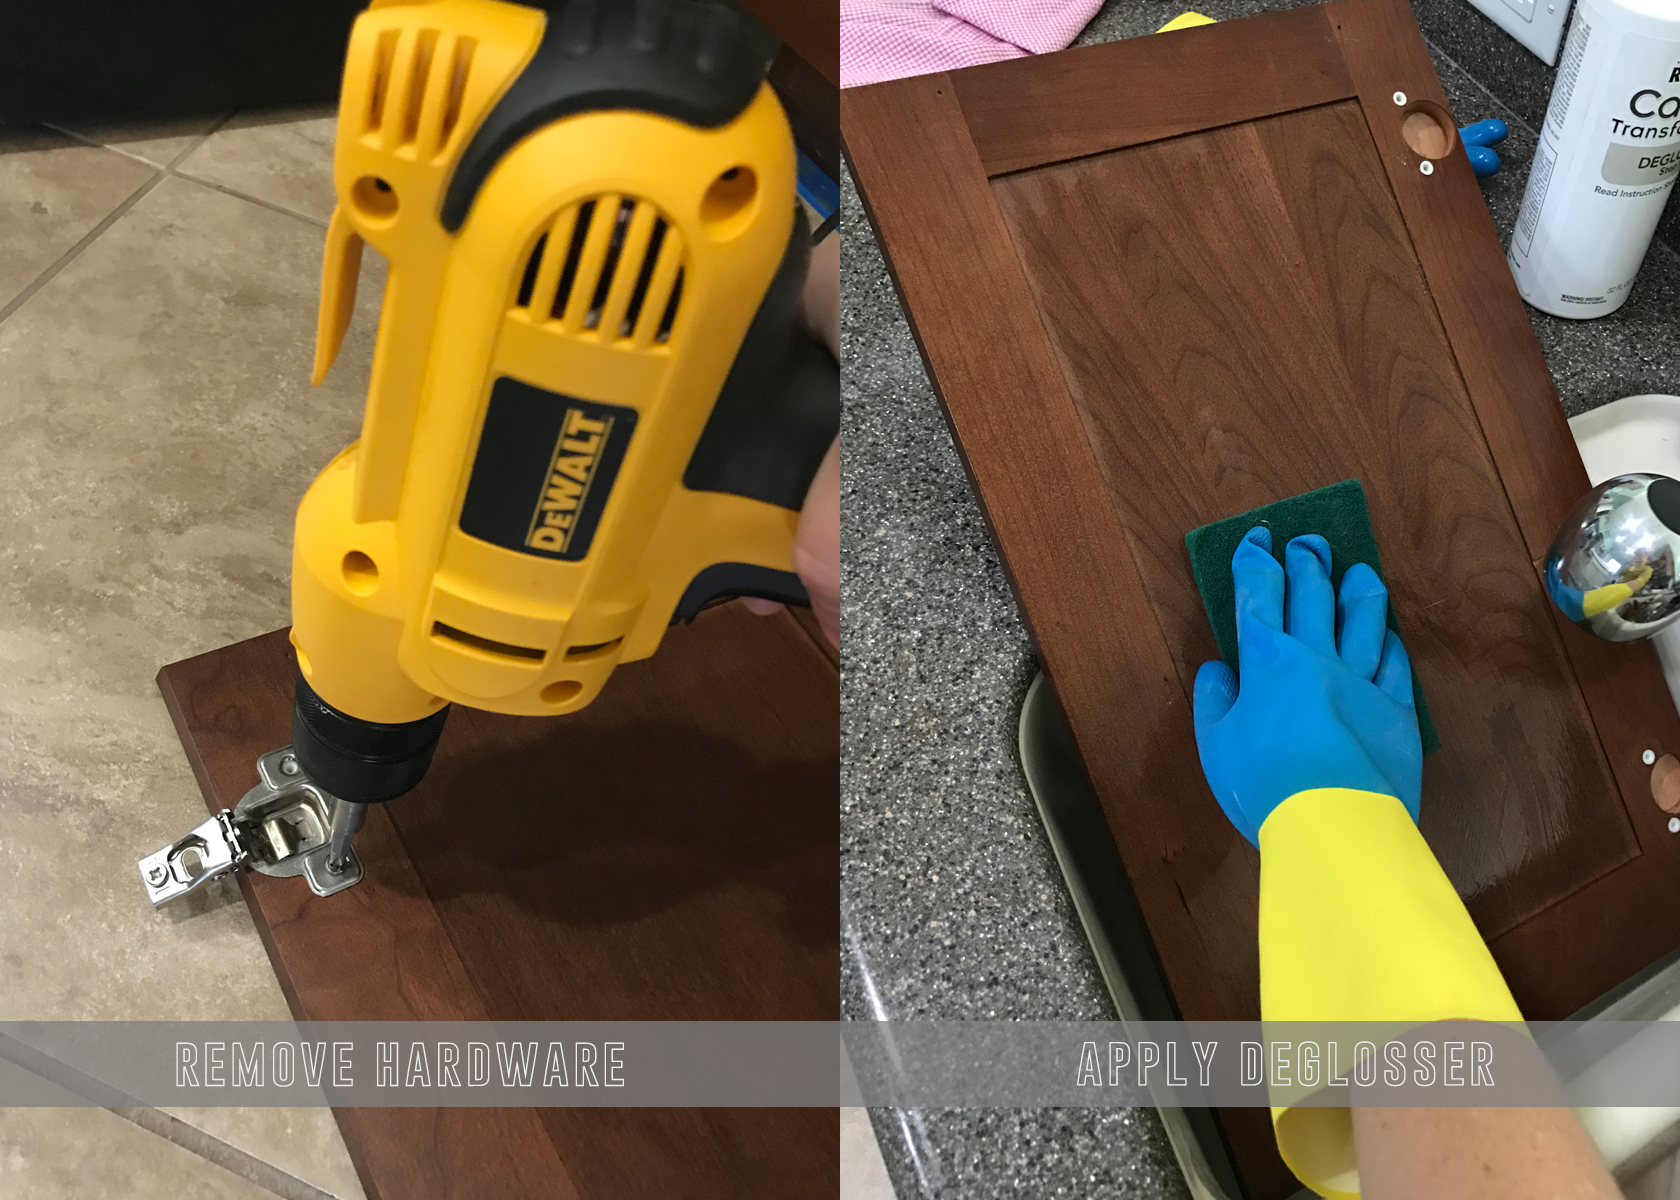
The first step is removing all the cabinet doors, as well as the hardware, and pulling out the drawers. This is really easy with a good drill! I kept all the little hardware pieces in Ziploc bags and somehow didn’t lose any! Next, it’s time to use the deglosser, a product described as “liquid sandpaper.” Wearing a pair of rubber gloves, I put some of the deglosser on a scrub pad and scrubbed both sides of each cabinet door. I did this over the sink, so I could just rinse the product off. Then I dried the doors with lint free rags. The same process is used for the drawers and the cabinet frames. I couldn’t rinse the frames, so I just wiped them off really good. After this step, you have to let everything dry for a few hours before painting. Also, you will be appalled by your dusty/dirty cabinets. It’s okay though, no one is watching.
A little bit about the deglosser: This product has a strong smell, but it did a great job removing the sheen from my cabinets. They didn’t really have a shiny topcoat to begin with, so I’m not sure if this product is strong enough to use on your cabinets if they have a really heavy layer of varnish or something. My only issue with this step was that the instructions didn’t really specify how much of the product to use, how hard to scrub the cabinets, or how to know if you were doing it properly. I was definitely winging it and just tried to scrub really hard! Once my cabinets were dry, they looked dull compared to before, so I assumed I was on the right track!
After the cabinets are completely “deglossed” tape everything off with painter’s tape.
Next comes the bond coat. This is the paint that you have tinted at a home improvement store to whatever color you want your cabinets to be. I used a good Purdy brush for this step, because the fronts of my cabinets have some grooves that a roller wouldn’t get into. For this step I set the doors up on small buckets, so the paint wouldn’t stick to my drop cloths. I just let the edges of the drawers hang off the table for the same reason. The instructions say to do two coats, but I had to do three. Good thing I bought that second kit! I think the coverage just wasn’t enough since I was going from really dark wood to white. I started with the backs of the doors then moved onto the drawers and frames, and painted each coat, then let them dry for a few hours in between. I think this is why I liked working in small batches. I was able to have everything right in my kitchen and could quickly paint a coat and move on to other things while the paint was drying. Once the third coat was dry I flipped the doors over and started the same process on the fronts. The first time I flipped the doors over to paint the fronts it was a little depressing realizing I had to do the same process all over again! Just FYI – I didn’t paint the inside of my cabinets. I’m pretty sure I’d still be rocking back in forth in a corner of the kitchen if I had attempted that!
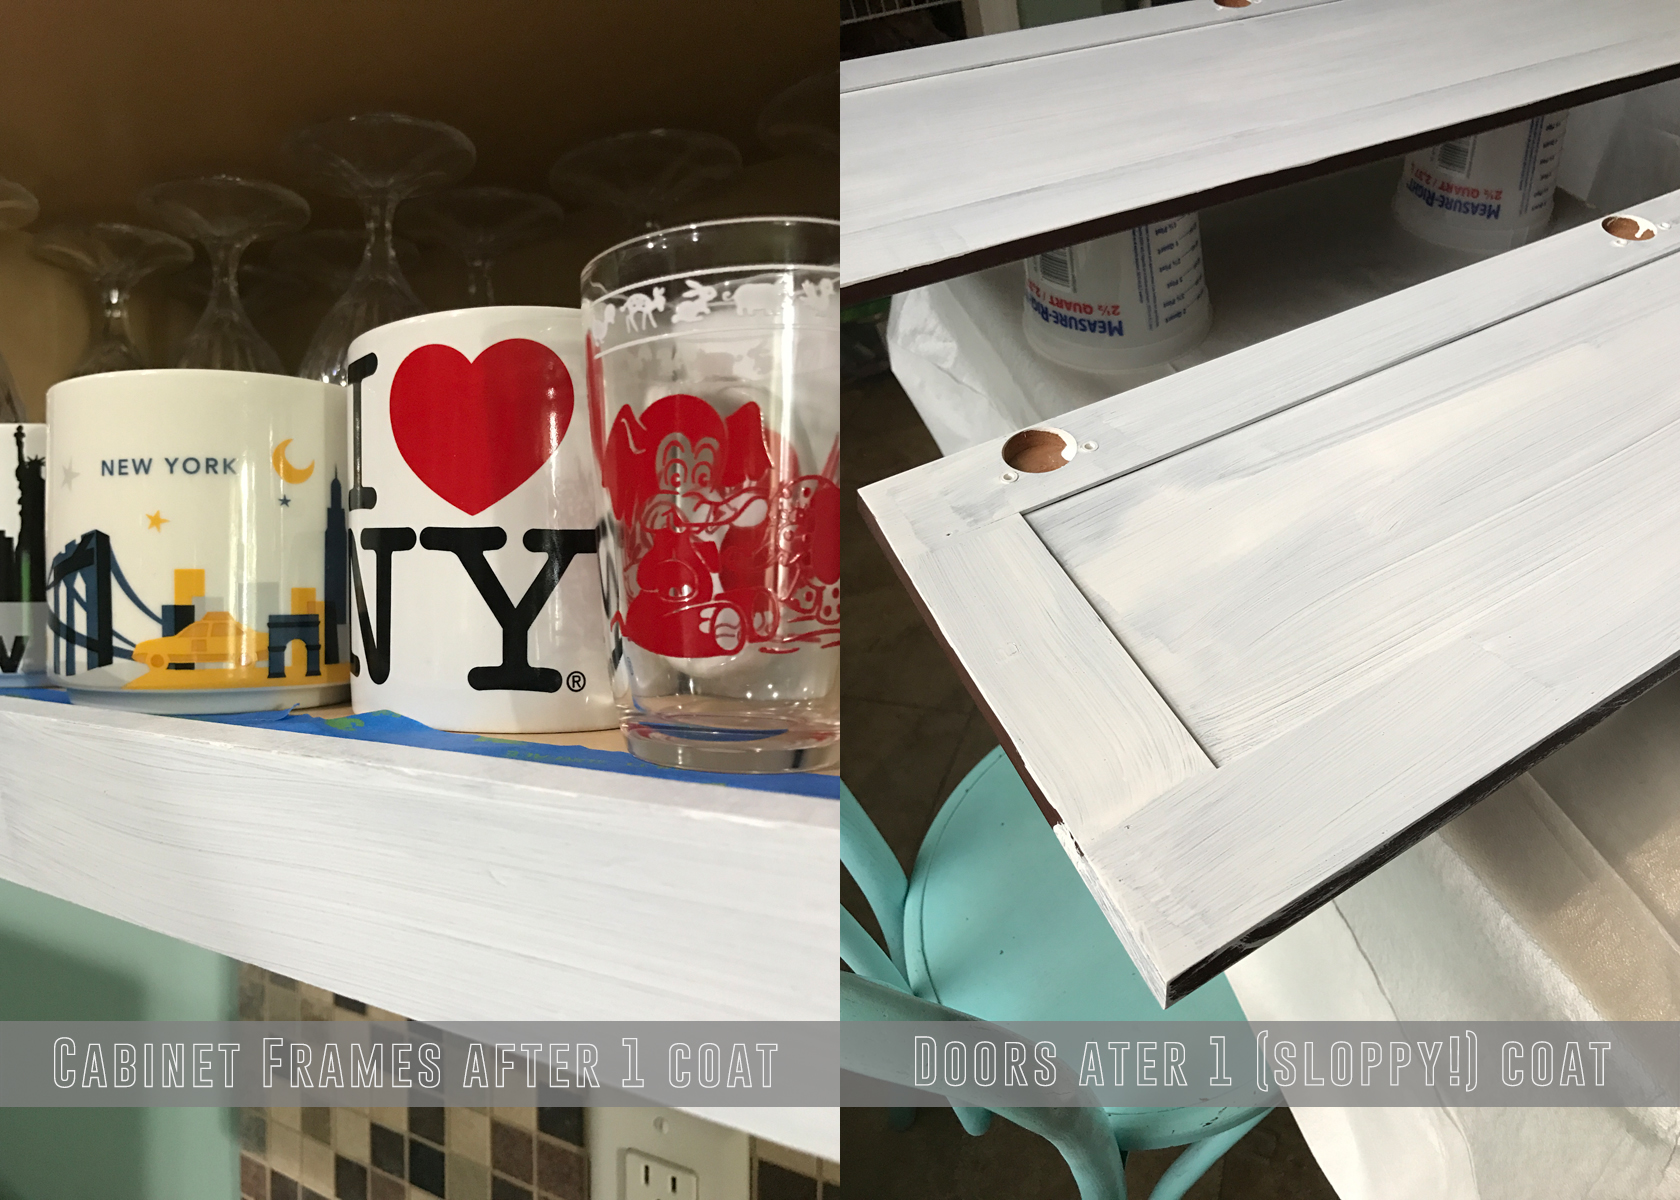
Be careful when painting the sides of your cabinet doors and drawers. You don’t want it to drip onto the other side. I actually thought this part of the process, applying the bond coat, was sort of relaxing. It was one of those mindless tasks that let my brain check out for a while. 🙂

Once the bond coat is completely dry, you have two options. Add the decorative glaze, or skip that step and move on to the protective top coat. I decided I didn’t like the way the glazed projects looked online, so I skipped it and went on to the top coat. This step seals the paint and keeps your cabinets from getting easily scratched. It has a bit of a shine to it too. Starting with the backs of the doors again you just apply one coat, let it completely dry, flip them over and apply one coat to the front. While the backs of the doors were drying, I painted the drawers and frames with one coat. After doing three coats of the Linen color it was nice to only have to do one of the top coat! One note about this step: It’s a really thin, clear paint, so you have to be careful not to get drips. I definitely ended up with a few!
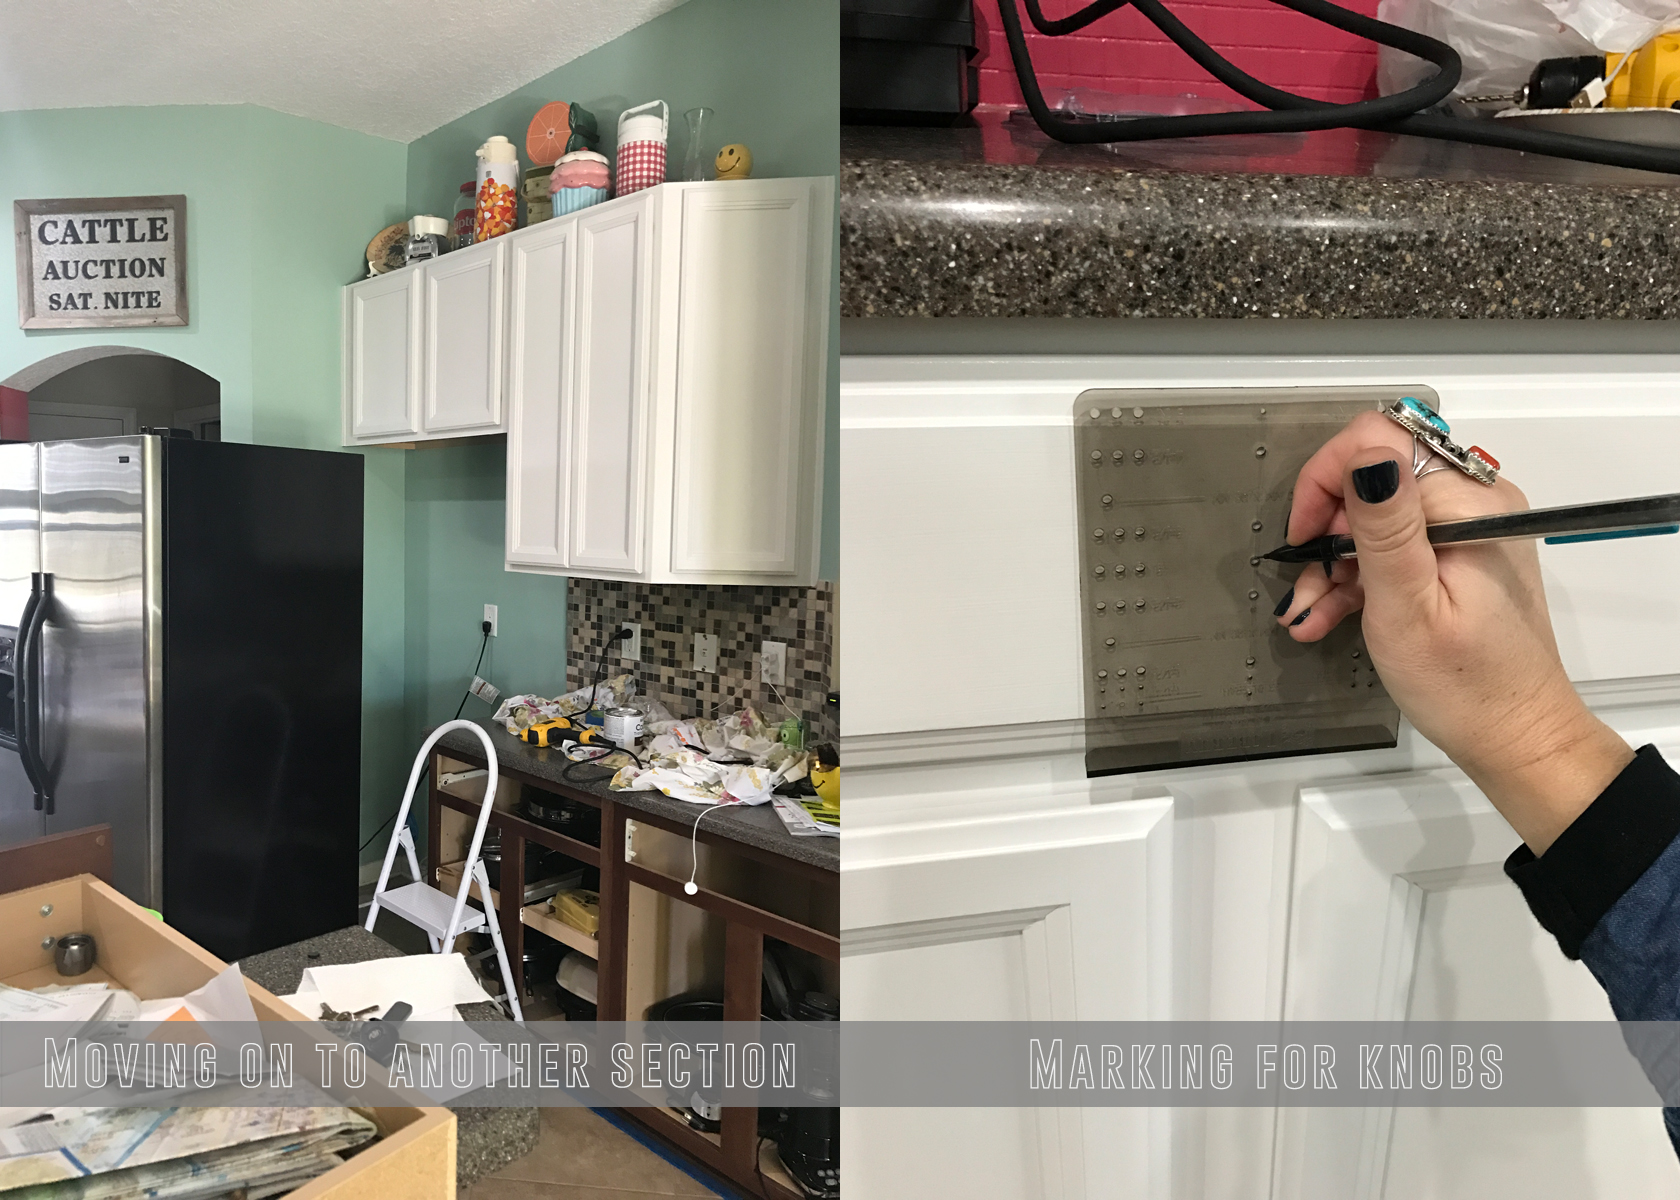
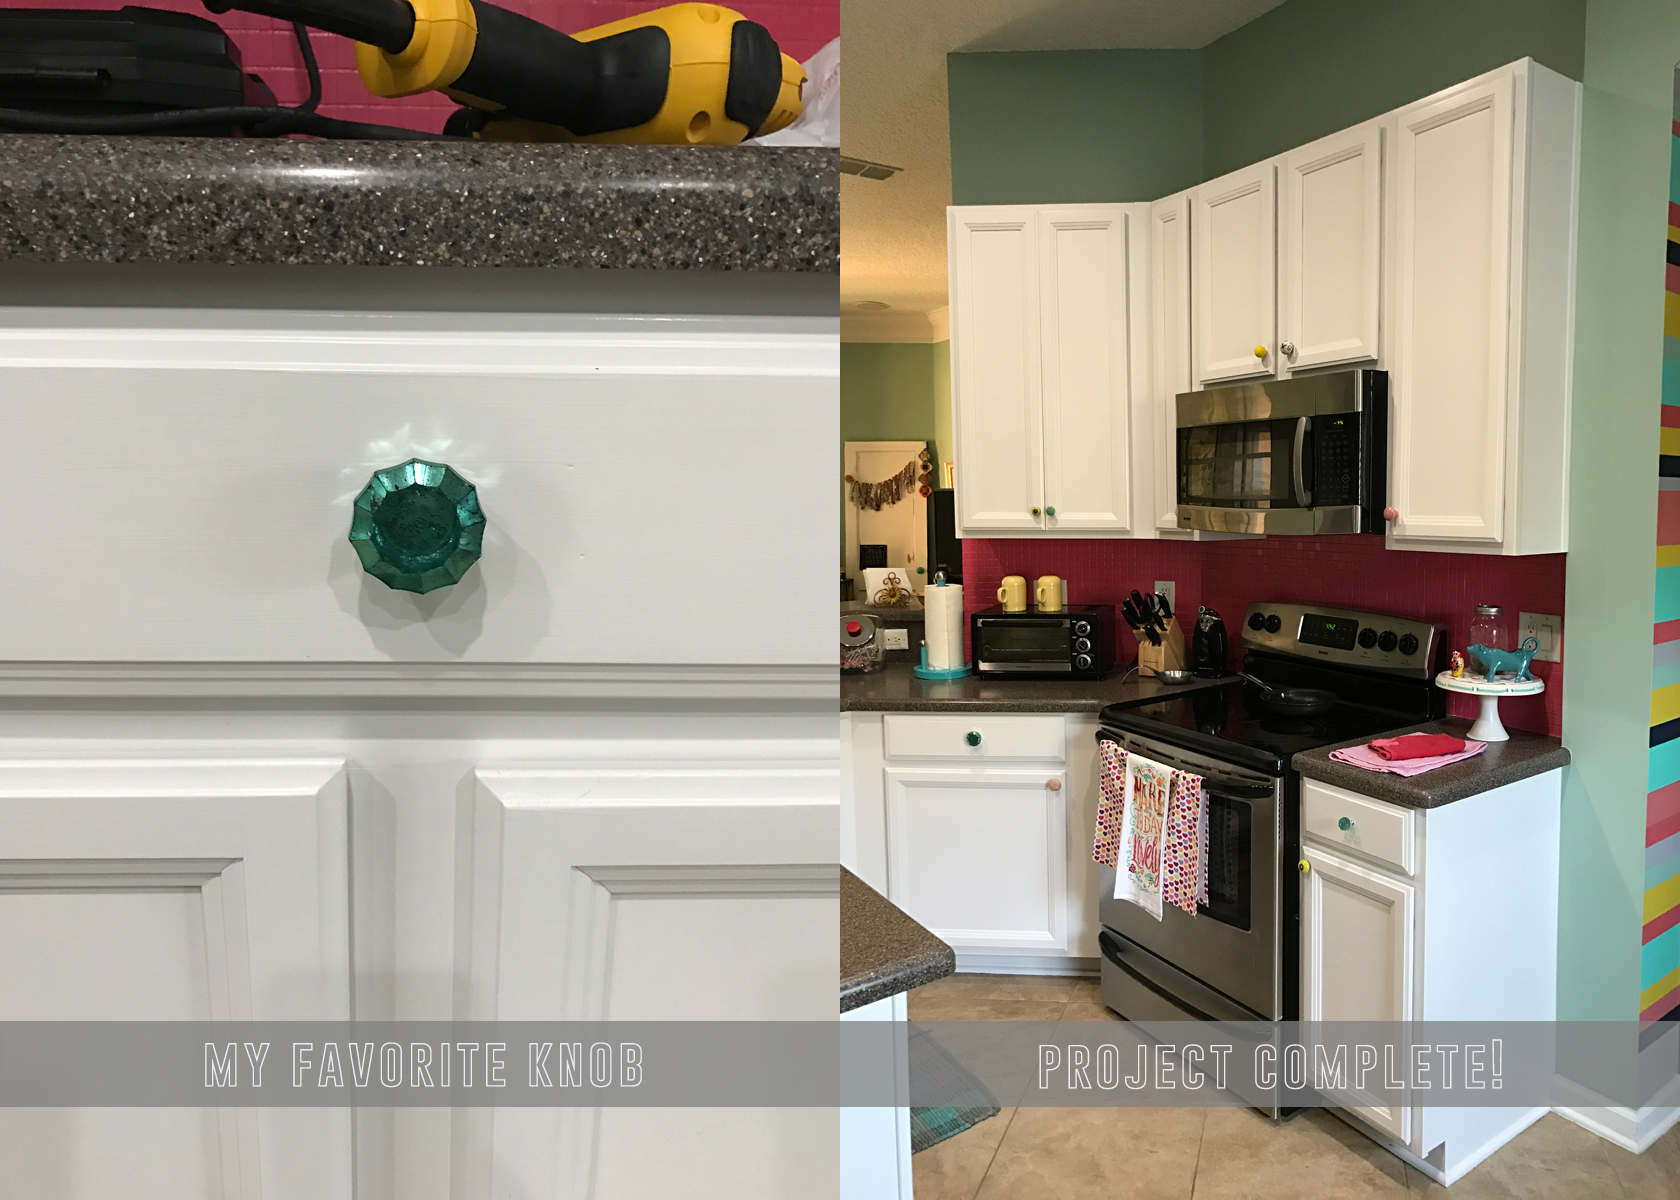
At this point I hung the doors back up then moved on to the next section and repeated the steps. Once all the painting was complete I cried with relief and joy. JK! I was really happy with the results though! This is when I started debating about adding knobs. Our cabinets never had them before, but I thought they would add a fun pop of color, and more importantly, keep the paint from getting worn, especially on the drawers we use a lot! I hated to drill holes into my freshly painted cabinets, but quickly got over it and decided once again, to just go for it. This is my new life theme. ha! So I bought a bunch of different knobs at Hobby Lobby, then picked up a stencil at Lowes. The stencil is a genius invention that pretty much makes this part dummy-proof! One thing we discovered was that the knobs at Hobby Lobby and Anthropologie are too long, so the screws stick out really far in the back. Anderson was afraid we’d cut ourselves every time we opened a door, so he cut them all to fit. This was his one major contribution to the kitchen re-haul. 🙂
One of the questions I had before starting: Will there be visible brushstrokes? I’m not sure why I cared so much about this, but before I started I was really interested in knowing if my cabinets would have a “factory finished” look. The answer is no. The cabinets definitely look painted when you get really close to them. Standing a few feet away there’s no way to tell, but when you get close enough to open them you can definitely see the paint strokes. Funny thing is, once I finished I realized I really liked that look. It gives the room more character! I even wish I would have maybe distressed the paint a little. Maybe next time?! Or not. THERE WILL BE NO NEXT TIME! All that to say, you might want to use a roller instead of a brush for a more “perfect” finish.
I can’t say this enough – if you don’t love your cabinets, PAINT THEM! I wish I’d done this years ago. It’s one of the most labor intensive projects I’ve ever done, but it wasn’t difficult. If I can do it and live to talk about it, you can totally do it!
The biggest reason I decided to do this myself is because God has really worked on us over the last few years about how we spend our money. Before I would have said, “Let’s just pay someone!” But now I realize that just because we can do something doesn’t mean we should. Our priorities have shifted, and I’m thankful for that! So let’s talk about $$$. Before starting, I checked around to find out how much it would cost to have someone come in and do this for us. The average was about $1,400. But when it was all finished I spent a little over $400, and that included a new drill and some other supplies (brushes, dropcloths, buckets, etc) that I’ll use for future projects. So we saved $1,000, and I’m really proud of my work!
Oh, I painted the back-splash too, and will fill you in on that soon. This post is just getting way too long!
Let me know if y’all have any specific questions, and I’ll answer them in the comments. I also plan to do an update in the future about how everything is holding up, because that was another one of my big questions before starting this! I have one small can of paint left, so I’m going to do a bathroom or two next. But first I need a few months to forget how much work this was!
Service Unavailable
The server is temporarily unable to service your request due to maintenance downtime or capacity problems. Please try again later.
Additionally, a 503 Service Unavailable error was encountered while trying to use an ErrorDocument to handle the request.